
Welcome to my new tutorial series, in which I’ll walk you through some simple but handy techniques for making synthwave. I’m starting with sound design, using one of the most widely-used VSTs in the scene: TAL U-No-Lx. This tutorial is aimed primarily at those who are just learning (or want to learn) how to design their own patches or who are new to TAL U-No-Lx. But it may also be useful to more seasoned sound designers who, like me, can sometimes get set in their ways. 😛
TAL U-No-Lx is a really handy and inexpensive Juno-60 emulation. It doesn’t sound exactly like the real thing, but it does sound quite good and also replicates the Juno’s intuitive workflow. So not only can you make great sounding patches with it, but it’s also an excellent learning tool for sound design.
In this tutorial, I’ll show you how to make a classic Juno-style polysynth patch with U-No-Lx, the kind that works for chords, leads and even bass.
1. Startup Patch
When you open U-No-Lx, this is what you’ll see:
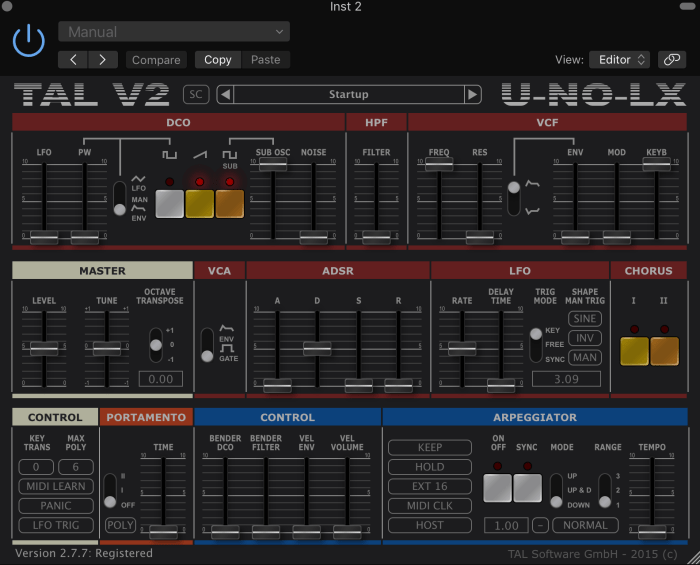
Like the Junos, U-No-Lx features one digitally-controlled oscillator (DCO), but allows you to layer two waveforms (one saw and one square), then adjust the shape of the square wave via pulse width modulation (PWM). There is also a sub-oscillator. What you see/hear right now is basically a saw wave with no modulation, but with the sub oscillator turned up to 100%.
2. Adding a second waveform
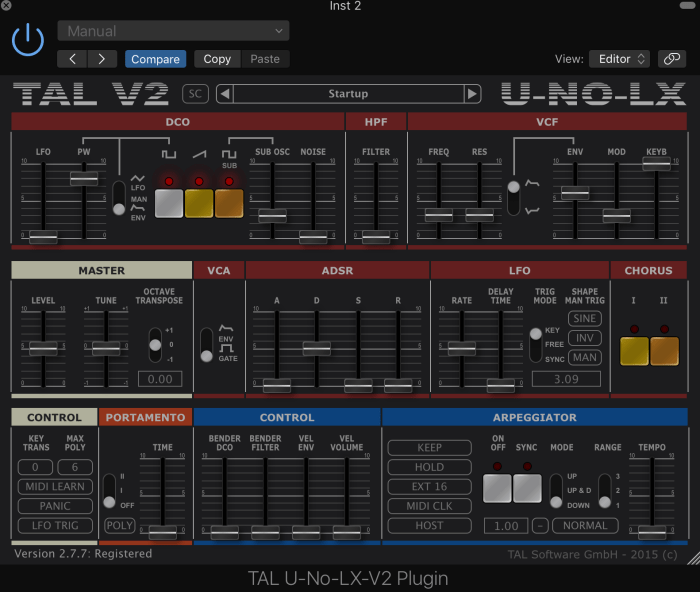
Let’s put the sub oscillator to the side for now and concentrate on adding a square wave to the equation. Click on square and then play around with the PWM settings. What you are doing is adjusting the width of the square. I like the way it sounds at about 80%. So let’s do that, and also bring the sub oscillator back in, but keep it subtle for now—at 30%.

3. Adjust the filter settings.
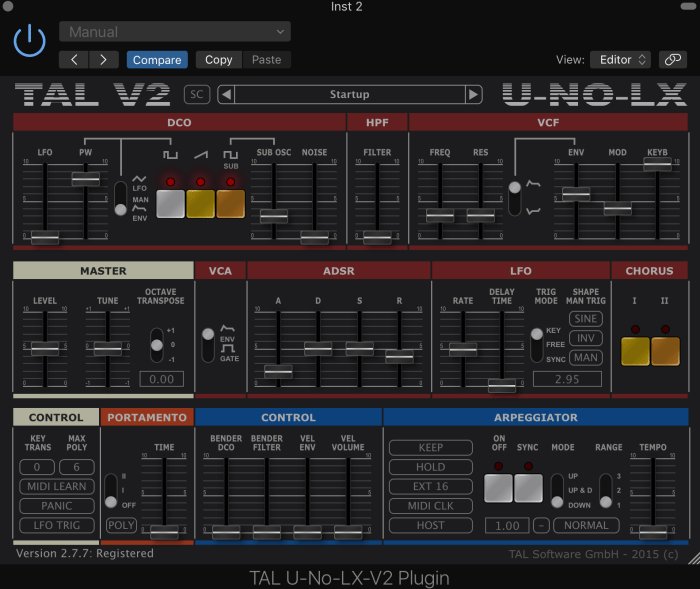
Feels like we’re getting somewhere, right? Even so, our sound is still a bit harsh and reedy. So let’s start to address that by adjusting the filter settings. Bring the cutoff and resonance down to 30% each, then raise the ENV to 60%. Now you can hear the envelope modulating the filter. It’s subtle but it’s there. Let’s also bring the MOD slider up to 30%. This will add modulation of the filter cutoff via the low frequency oscillator (LFO).
4. Adjust the envelope (ADSR)
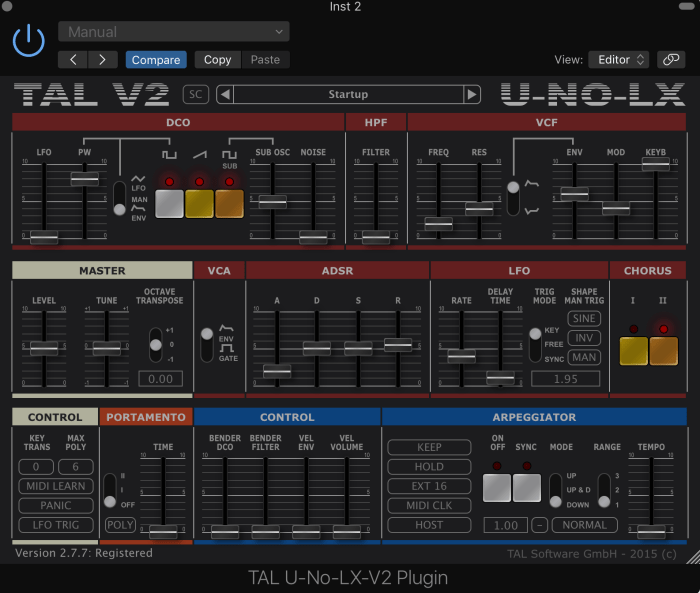
U-No-Lx defaults to gate for the envelope, but if we really want to make this sound shine, we need to set it to ENV. After doing that, we can adjust the ADSR. Since U-No-Lx has a single envelope, it’s going to modulate both amplitude and filter. So let’s set attack to 20%, decay and sustain to 50% and release to 40%.
(After doing so, I also raised the MOD slider to 40%.)
5. Adding chorus
Chorus is the Juno’s secret sauce, and U-No-Lx does a good job reproducing Roland’s ultra-lush chorus. I prefer chorus 2 for this patch. So let’s add that:

(Hint: you can also double chorus 1 and 2.)
7. Final adjustments
Now that we have our basic patch, we can adjust the settings to our needs and preferences. I’d like a hint more of release. I’m putting it just north of 50%. And I want to lower the LFO rate while also adding a hint of predelay (which determines how quickly the LFO kicks in). I’m bringing LFO RATE down to 40% and DELAY TIME up to 10%. I’m also going to add some more sub to give the sound more body—to 50%. Finally, I’m going to lower the filter cutoff to 20% and raise resonance to 40%, which brings out the modulation a bit more.
And there you go! A classic Juno polysynth patch that sounds great as bass, chords or lead. (Though you might want to reduce the release a touch when using it for bass).
-G

2 thoughts on “TUTORIAL: Classic Juno poly with TAL U-No-Lx”